
A little room for the brush,
Application is easier to think about when the surface is clear and the bottle has a stable place to sit. This is not a lesson in a perfect manicure. It is a way to make a modest task less crowded, especially when the day has already asked for plenty of attention.
The photographs illustrate the ideas; they are not records of product testing.
Set the scene
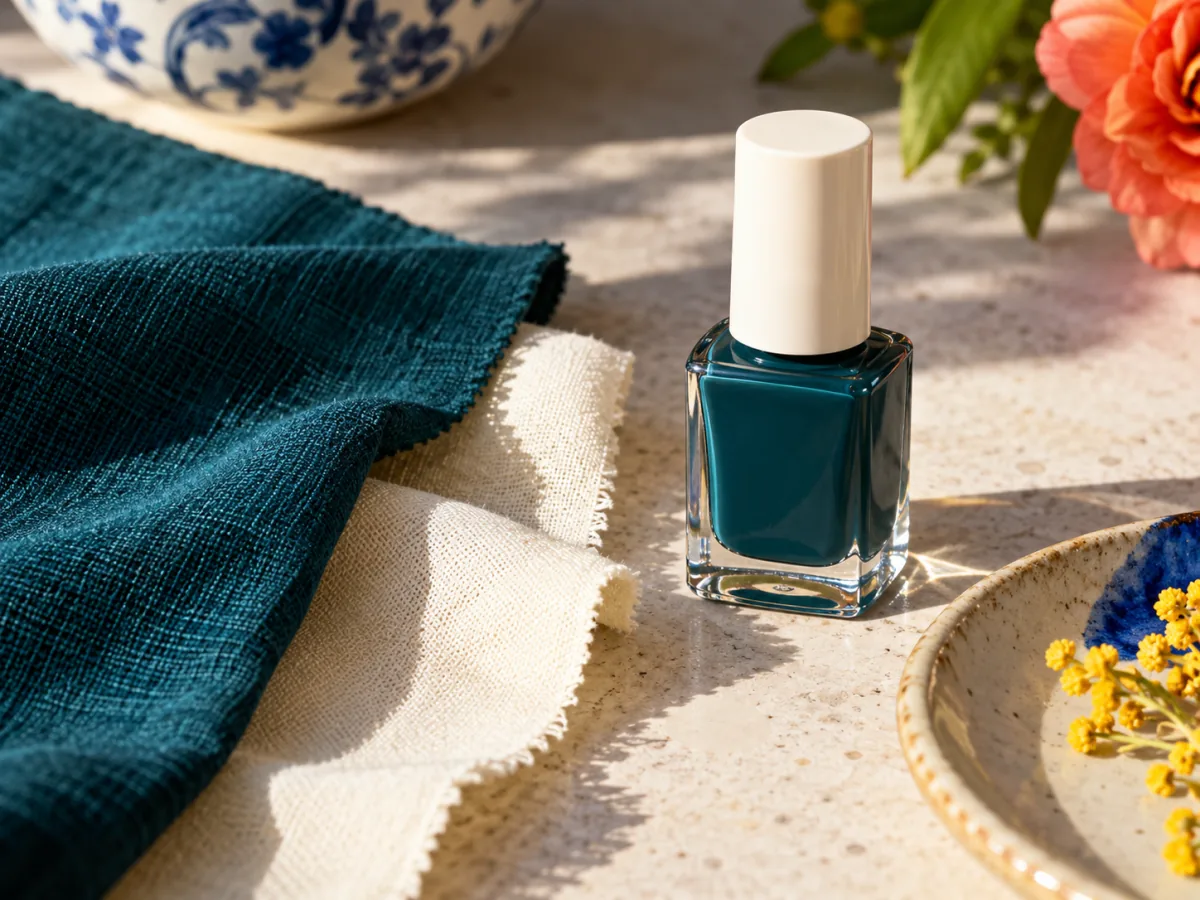
Choose a protected surface with enough light to see the edge of the nail. Keep the polish bottle upright and close enough that you do not have to reach across fabric or other objects. Read its instructions for ventilation, application and drying; formulas differ, so the label matters more than a universal technique.
Use the brush you have
Notice how much product the brush carries before bringing it to the nail. Work at a pace that lets you see where the color is going. There is no need to claim a fixed stroke count or a drying interval that will work for every bottle. If the tool is difficult to control, pause and reset the work area.
Give the finish context
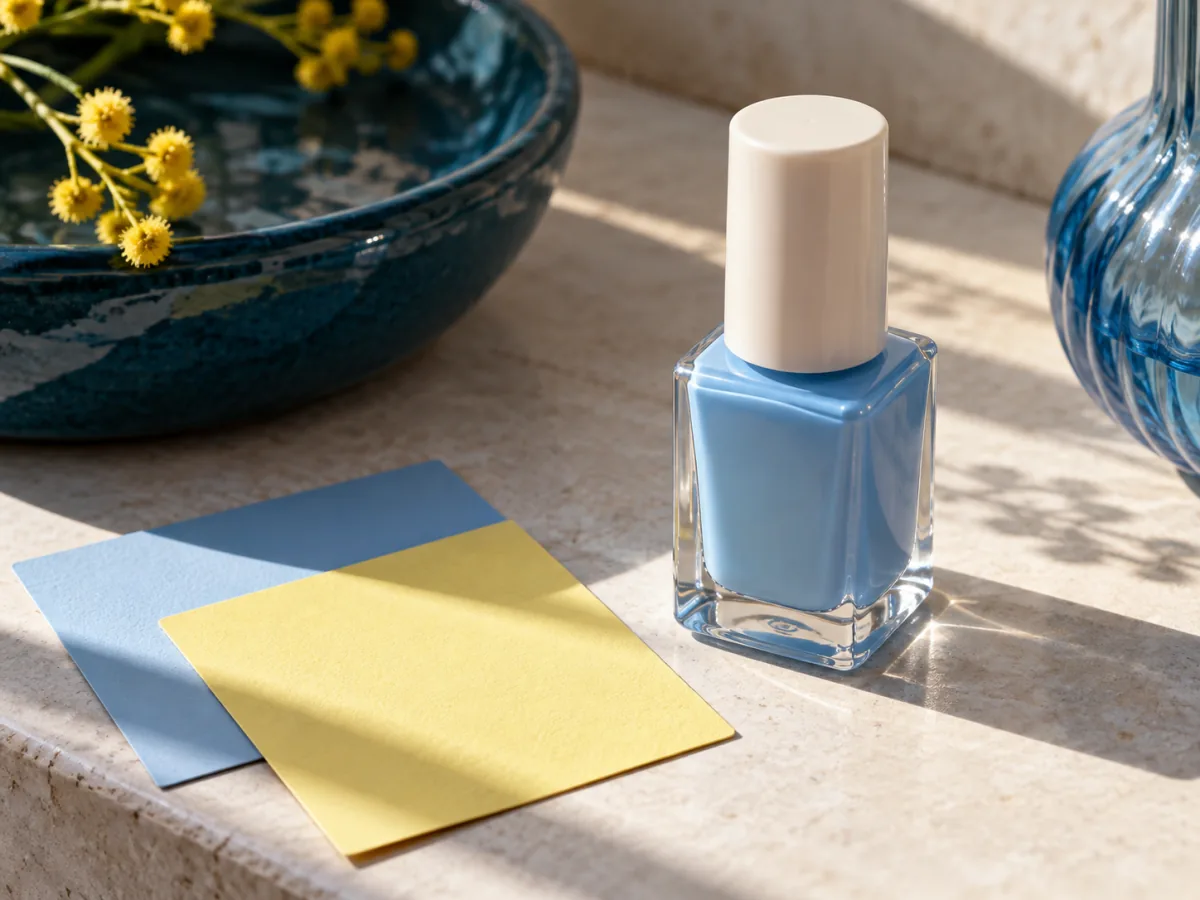
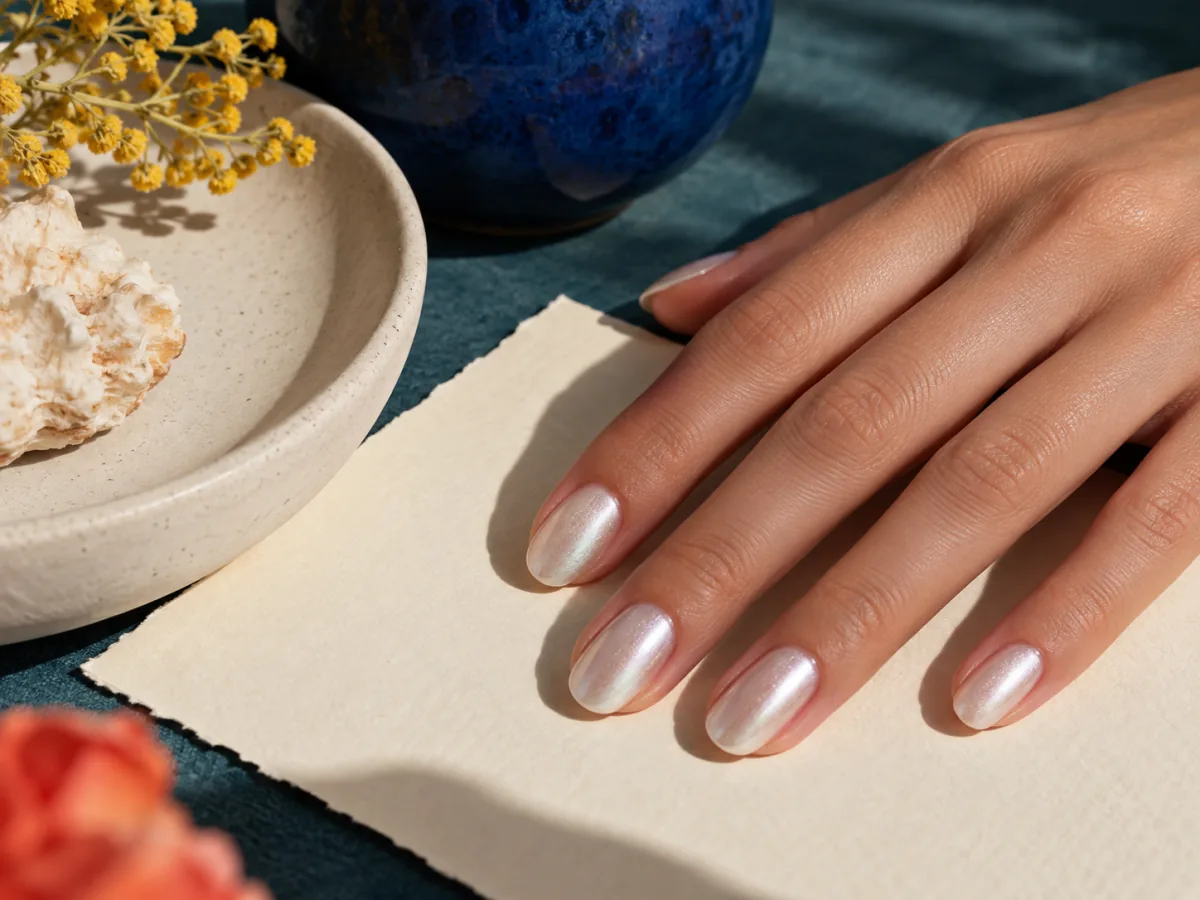
A sheer, cream or shimmer finish may draw attention to a different detail. Look at the result in ordinary light instead of chasing a photograph's smoothness. Images in this journal illustrate color ideas; they are not proof of how a specific polish performs on a real person.
Put things away in order
Close the cap as instructed, clear the used materials, and return the bottle to its storage place once appropriate. A finished routine includes the desk and drawer, not only the visible color. Leave enough time for the product's own instructions before touching surfaces.
Sometimes the best tool is simply space. — Paige