
Before the next color,
The final part of a manicure is often treated as an afterthought. A removal setup deserves the same quiet attention as choosing the shade: enough space, the right supplies for the product, and a plan for the used materials. This note is about organizing the task, not about treatment or nail health.
The photographs illustrate the ideas; they are not records of product testing.
Clear the surface
Choose a washable or protected work area and keep fabric, finished furniture, and open flames away as product labeling directs. Put the remover, cotton pads, and a small disposal container within reach. Close unrelated bottles before you begin so they cannot tip into the work.
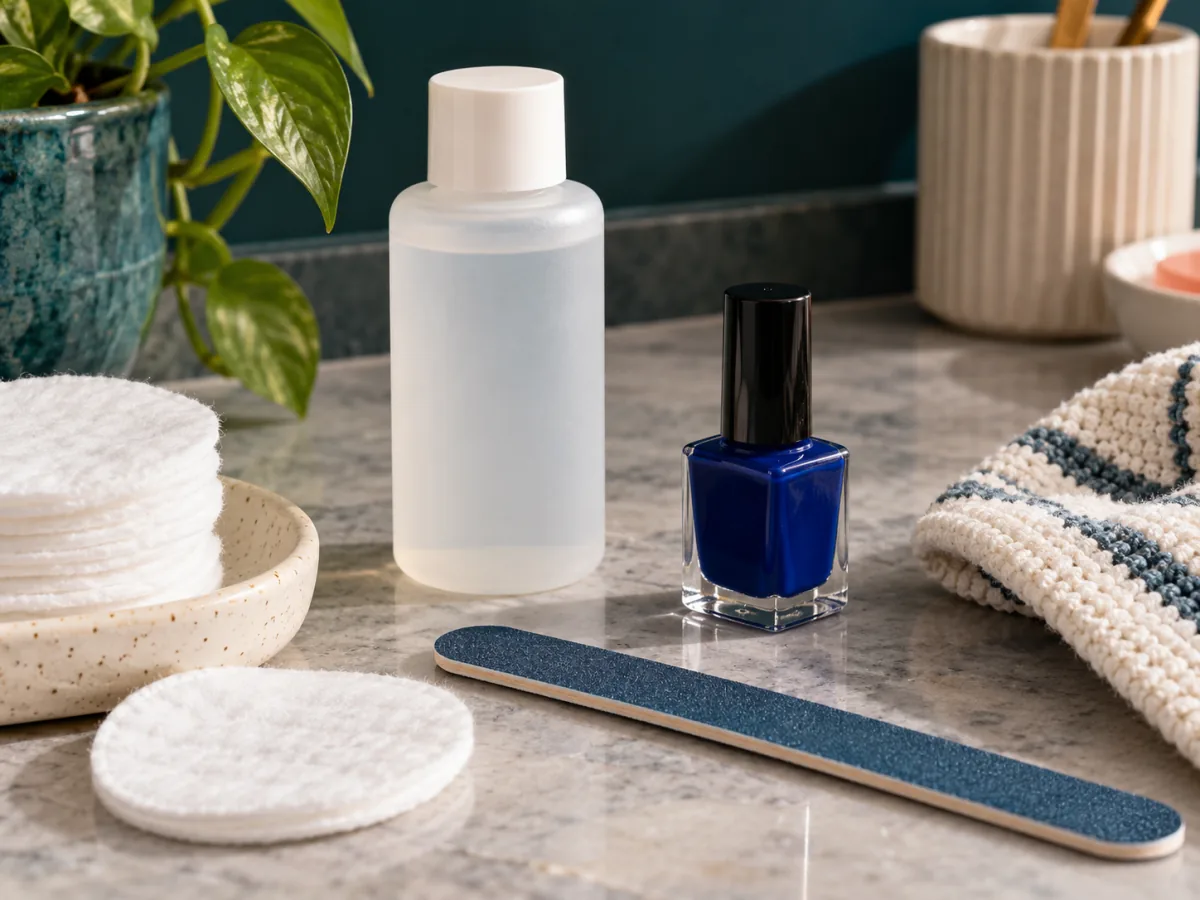
Read the label
Use a remover and method appropriate for the polish actually on your nails. Air-dry polish is the subject here; gel, acrylic, and powered removal tools are outside this site's scope. If a product's instructions call for specific handling or ventilation, follow them rather than a generic tip from an article.
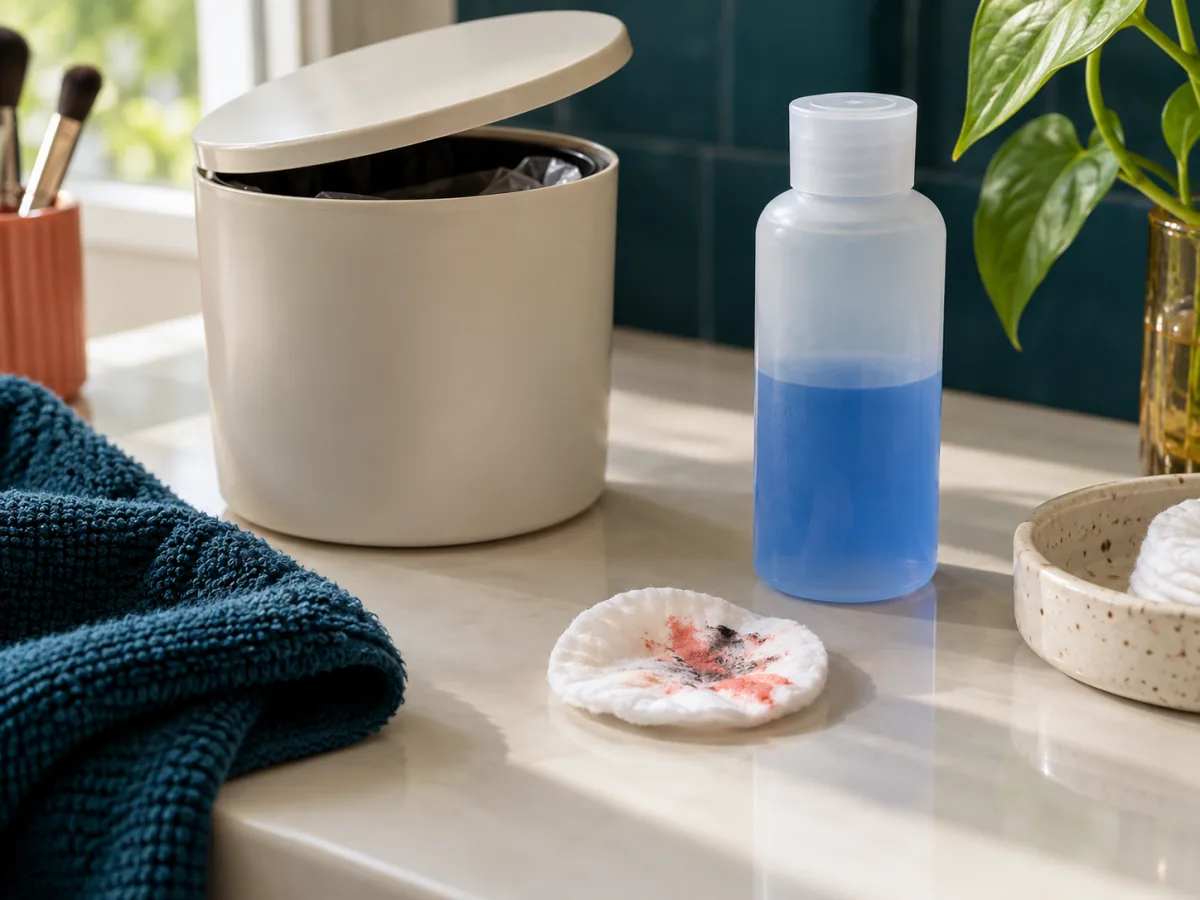
Handle the small mess
Keep used pads together and dispose of them according to product and local guidance. Return caps promptly and wash the work surface if needed. Do not pour leftover product into another container just to make the shelf look tidy; original labels are useful for identification and safety.
Pause before reapplying
A change in color need not be immediate. Put the tools away, check the condition of the work area, and decide whether another color is even wanted today. If you have a concern about irritation or nail condition, seek guidance from a qualified professional rather than relying on a general beauty note.
Finish the whole task, not just the color. — Paige